
Generally, Test Runs are a collection of multiple test suites with necessary information such as who’s handling the involved test cases at any particular time. This is where the actual testing happens, and upon executing the test runs, the appropriate results can be determined.
Creating A Test Run
Ideally, a test run is created after creating appropriate test cases because here’s where the execution happens. Follow the below steps to create a test run using QA Touch.
- Login to QA Touch.
- Click the Project tile under which you wanted to Add test run.
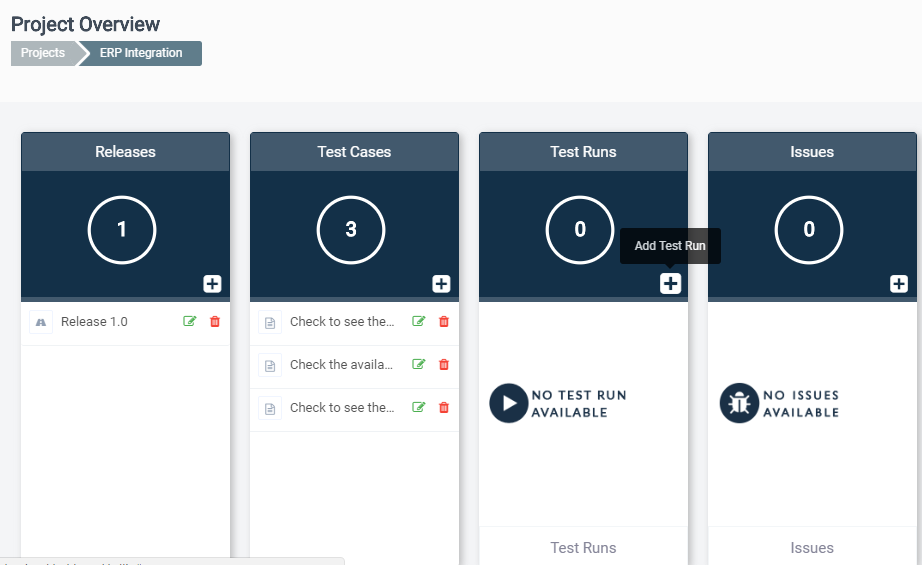
- Click “+” icon in Test Runs.
- In the pop-up window, enter the basic details about the test run.

- By default, the name of the test run is populated with the current date. You can change it based on your needs.
- Select Assigned To and choose the team member to whom you want to assign the test run.
- Select the Release Version.
- Select the type of Test Run – you’ll have two options:
- All Test cases – the test run will be created with all test cases available in the project.
- Specific Test Cases – you can select the module and then select the required test cases.

- Click on Save.
A workaround: You can also create a test run by accessing the left navigation menu. Project → Test Runs → Add Test Run.

Hope the feature walkthrough was useful and just, so you know, we have a line-up of some great QA posts over the next few weeks. If you have any feedback or ideas, please leave your comments below.