
‘Design is not just what it looks like and feels like. Design is how it works’. — Steve Jobs.
Before we dive deep into the insights of Automated Visual Regression Testing with Cypress here are some fundamental things you need to know. Regression Testing is used to verify that any application changes do not impact the existing features. Therefore, regression tests are inevitable in every test suite in software development.

Visual Regression Testing applies the same concept, but it appeals to the application’s UI part. In this blog, we are going to see how to do automated visual regression testing with cypress with examples that will help with a better understanding of things.
What is Visual Regression Testing?
Visual Regression testing might sound too technical, but in simple words, it is nothing but the validation of the UI by comparing two images pixel by pixel. Some people might mention Visual Regression Testing as Visual Testing. However, visual Testing and visual regression testing both are the same.
A visual regression test checks what the user will see after any code changes are executed by comparing screenshots taken before and after code changes. This is often why visual regression tests also are sometimes called visual snapshot tests.

Why is Visual Regression Testing Needed?
Think of these scenarios. When you open an app and try to do some action because of some UI error, it might be an annoying popup or an ad that opened and blocking you from accessing the page.
The errors like misalignment of objects, font, layout, and rendering issues can be detected early and avoid these issues.
User Scenarios for doing Visual Testing
Let’s say a user opened a mobile or web app and tried to click a button, but he or she is not able to do that because a popup covers and hides the button. Of course, the user is frustrated and confused about how such a visible bug got past the software team. They might even delete the app or move out of the web app and go to another competitor.
This is an example of a visual bug. Apparently, it is a bug that impacts the end user’s visual experience of using the application. Visual testing comes in handy to resolve such kinds of bugs. In the world, there are hundreds, thousands of device, browser, operating system combinations that interpret “code-to-pixel” in their unique way. As a result, the same app can look different or be distracted on different devices. So, when we develop software, responsive design should be considered.
Visual Regression Testing Checklist
- Have the precondition to ensure to have a stable version of the application.
- Identify the core business scenarios and review them with the stakeholders.
- Prepare the combination of the test scenarios based on the collected business scenarios.
- Have separate test suites for the functional and Visual UI tests.
- For the visual UI tests, create baseline images for the pages accessed by the end-users often. Automating this saves time and resources.
- Ensure to cover the alignment of texts, images, icons, buttons in the pages.
Automated Visual Regression Testing with Cypress
Conducting manual visual regression testing may consume more time and resources. So, we thought of automating our visual regression testing. There are many automation tools available for visual regression testing, both open-source and AI-powered commercial tools. We have selected Cypress for our automated visual testing with a community plugin. So, I will share how we have implemented Visual Regression Testing with Cypress with the Visual Regression plugin with a small example.
Set up & Configuration
The installation and configuration of Cypress are available in detail in the Cypress official documentation. So, I will not add those details again, and you can refer to the same from here.
Visual Regression Testing with Cypress
Several published, open-source plugins are listed within the Visual Testing plugins section for Cypress Visual Regression Testing. A number of other commercial companies have also developed visual testing solutions on top of the Cypress Test Runner.
Among these plugins, we have selected the open-source plugin cypress-visual-regression. Then, I installed the plugin and followed the configuration options from the setup instructions.
It can be installed by entering the below command:
npm install cypress-visual-regression
Refer to the Readme to complete the other configuration steps.
Visual Regression testing can be done for validating the text and comparing the pages with the baseline images.
Sample Script
I am sharing a simple sample script. The script is below:
describe(‘Login Tests’, function() {
it(‘Should match image snapshot’, function() {
cy.visit(‘https://login.qatouch.com/signin’);
cy.get(‘title’).contains(‘QA Touch :: Login Page’);
cy.compareSnapshot(‘login’, 0.0);
cy.compareSnapshot(‘login’, 0.1);
});
});
Run the below command to execute the script from the terminal.
./node_modules/.bin/cypress run –env type=base –config screenshotsFolder=cypress/snapshots/base,testFiles=\”*Tests.js\”
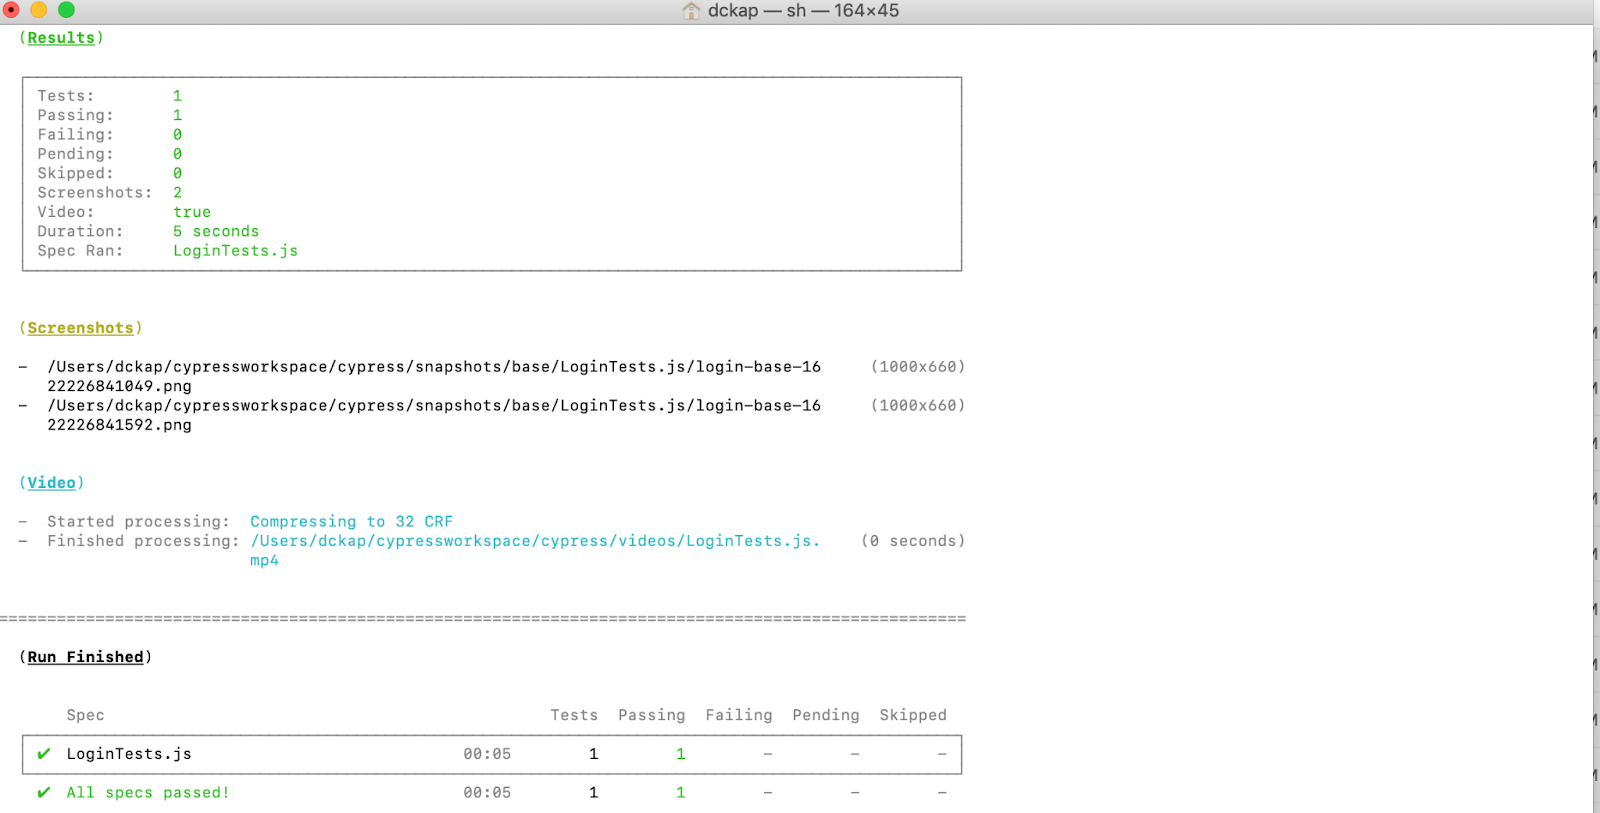
The below screenshot shows the execution of the script from the terminal.
I hope this blog helps to know how you can start with visual regression testing with Cypress.
Start your 14-day free trial and be the champion of your application testing. Also, if you like the type of content we publish and then subscribe to our blog and keeping enjoying the tech learnings.
Happy Learning!! Happy Testing!!
References:
https://docs.cypress.io/guides/tooling/visual-testing#Recognize-the-need-for-visual-testing