How Contract Testing Improves Microservices Stability
Microservices promise speed, independence, and scalability. In daily work, many teams discover a different reality: small changes causing big failures.

Better Coverage, Fewer Tests: A Guide to Pairwise Testing
Have you ever felt that sinking feeling when you look at a new feature’s configuration matrix and realize there are

10 Codes of Ethics in Software Testing
Code of Ethics turns testing from a routine task into a commitment to doing what is right for the product
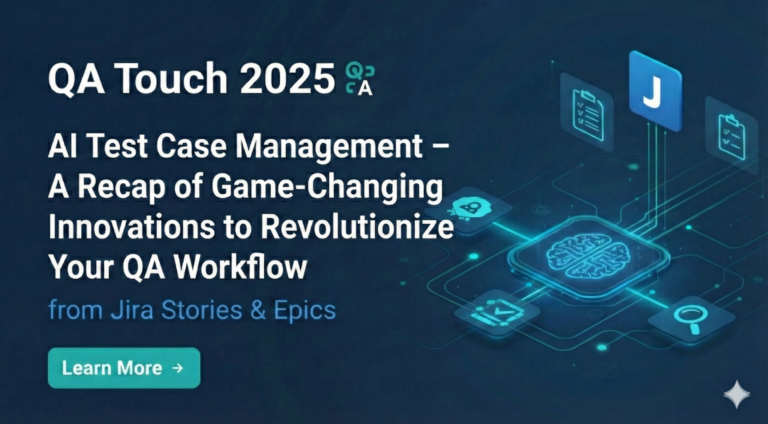
QA Touch 2025 AI Test Case Management A Recap of Game-Changing Innovations to Revolutionize Your QA Workflow
In today’s fast moving development world, testing teams are under constant pressure to speed up their work while still maintaining

Introducing AI-Powered Multi Test Case Generation from Jira Stories & Epics
How QA Touch AI is Turning Jira Stories into Instant Test Cases. Today, we are thrilled to announce a major

How to Run Selenium WebDriver with Docker
Selenium WebDriver is a powerful tool for automating web applications, and Docker is a popular platform for containerizing applications. Combining

From Recording to Script: How AI Is Transforming No Code Automation
Anyone who has used a traditional “record and play” test automation tool knows the truth: recording is easy, but turning

Unlocking Efficiency The Rise of Free AI Test Case Management Tools
Testers, developers, and tech enthusiasts! If you’ve ever found yourself drowning in endless spreadsheets or juggling scattered test cases, I

QA Touch’s New AI Test Case Generator Transforming BRDs Into Test Cases in Seconds
In the world of software development, speed, accuracy, and collaboration matter more than ever. QA teams face constant pressure to