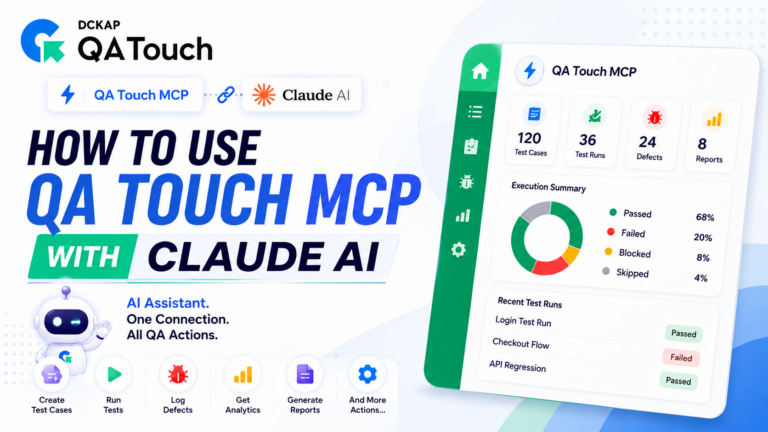
Accelerate Software Testing with QA Touch MCP Integration
Introducing QA Touch MCP Connect Your AI Assistant Directly to Claude desktop To bridge this gap, QA Touch is excited

How to Test AI Agents: Best Practices for QA Teams
AI agents become powerful partners for all businesses. These systems interpret language, reason and behave independently, not like traditional software.

Test Management for QA Agencies: How to Handle Multiple Client Projects Efficiently
When teams scale and manage multiple client projects, different products, and timelines at the same time is one of the
How to Effectively Use QA Touch Test Case Management in Your Organization
In the fast-paced world of software development, “manual” is often synonymous with “bottleneck.” Moving from messy Excel sheets to a
What is Red Teaming in AI and Impact in Testing
In software development, the application is expected to behave with the consistency whenever we give a specific set of inputs.
Transform Your Testing Workflow with AI Test Parameters
We are thrilled to launch the new AI Test Parameter! 🎉 feature As our community continues to grow, we want
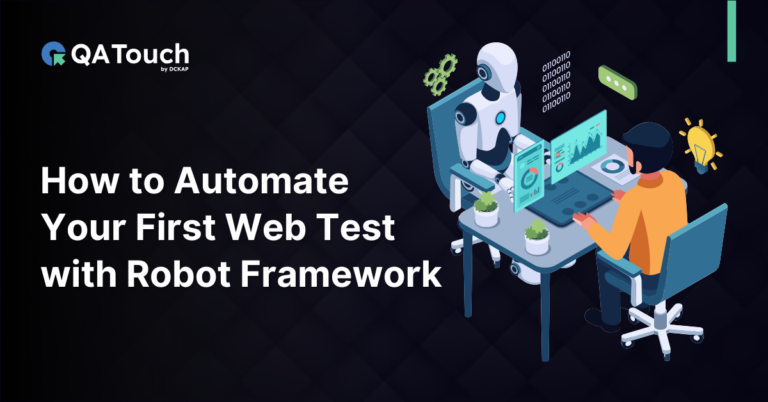
How to Automate Your First Web Test with Robot Framework
Robot Framework is a powerful, Python-based open-source automation framework that has popularised keyword-driven testing in modern QA practices. Its intuitive,
How Did the QA Team Miss This? The Reason Behind Bugs Reach Production
Why That Question Misses the Real Problem. I still remember sitting in a high pressure RCA meeting a few years
API Testing Using Postman in Visual Studio Code
What is API Testing API testing is an essential part of modern software development that verifies whether backend services function